
LG Washer Inlet Valve Leaking – What Part Fixes This Problem?
Need the replacement part? Search your model number at for guaranteed fit and fast free shipping.
Understanding the Problem
If your LG washer is leaking water from the valve area (usually at the back near the water inlet hoses or under the top panel), the most common culprit is the water inlet valve assembly or its seals. The inlet valve controls incoming water and can develop internal leaks from worn valve seats, cracked housing, or failed solenoids. Leaks can occur while the machine is filling, after it's off, or continuously if the valve fails to close completely. A leaking inlet valve can cause puddles under the washer, soggy floors, or even error codes on some LG models. Before attempting a repair, cut power and shut off the water supply. Inspect hoses and clamps first (simple fixes), then the inlet valve itself. Replacing the inlet valve or its seals resolves most valve-related leaks, but also check the inlet hoses, hose connections, and the washer chassis for secondary damage caused by the leak.
Common Symptoms
Puddles under the washer; water dripping from the back or base during or after filling; washer overfilling or running continuously; visible corrosion or mineral buildup on valve or hose fittings.
Common Causes
- Worn or damaged inlet valve seats and seals allowing internal leakage
- Cracked or degraded valve housing or solenoid assembly
- Loose or damaged inlet hoses/clamps or debris caught in the valve causing poor sealing
Popular Parts That Fix This Problem
These are the most common replacement parts that fix this problem. When you're ready to order, click below to find the right part at ProsourceParts.com — just search by your appliance model number for a guaranteed fit.
Helpful Repair Tip
To confirm the inlet valve: shut off water and power, place towels under the valve area, run a short fill cycle with the rear panel accessible, and watch the inlet valve body and hose connections—if water appears at the valve body or from between the valve and hose, the valve or its seals are the likely cause.
Frequently Asked Questions
How can I tell if the inlet valve is the part leaking?
Start by shutting off water and power. Inspect the rear hose connections—tighten clamps if loose. Remove the top or back panel and run a short fill cycle while watching the valve area. If water is coming from the valve body (not the hose connection) or dripping between the valve and the water inlet hoses, the inlet valve or its internal seals are likely failing. Visible cracks, mineral buildup, or water pooling on the valve are also indicators.
Can I replace the inlet valve myself, and how much will it cost?
Yes — most homeowners with basic tools (screwdriver, pliers) can replace the inlet valve. Typical steps: unplug washer, shut off water, disconnect inlet hoses, remove access panel, unplug valve wiring, unbolt valve, swap in new unit, reconnect hoses and power, then test. Replacement parts cost depends on model and supplier but expect roughly $30–$120 for a valve assembly; labor varies if you hire a technician. If your washer is under warranty or you’re uncomfortable working with water/electrical connections, call a qualified appliance technician.
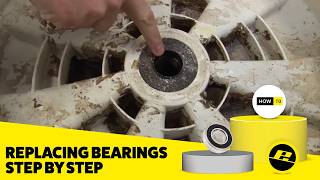
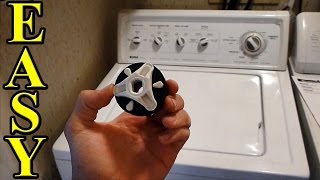
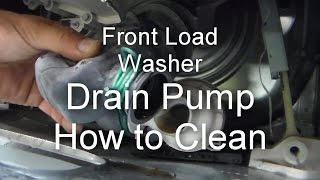
Related How-To Videos
Real DIY Repair Stories
Be the first to share your repair story!
Share Your Repair Story
Your experience helps other homeowners fix their appliances. Tell us how it went!
Can't Fix It Yourself? Find a Local Technician
It's perfectly okay to call a professional. Some repairs require specialized tools, deep teardowns, or dealing with complex systems that are better left to the pros.

Find the Right Part for Your Appliance
Don't guess — search your exact appliance model number at ProsourceParts.com to find the correct OEM compatible replacement part. They offer fast free shipping, guaranteed fit, and thousands of parts in stock.
Your Free Parts Videos
Whether your dishwasher won't drain, your dryer stopped heating, or your fridge isn't cold, we've created simple repair guides for the most common appliance problems homeowners face. Each guide explains what's going wrong, the most likely causes, and which replacement parts fix the issue. When you're ready to order, we link directly to ProsourceParts.com where you can search by model number and get the right part shipped fast.