
LG DLGX5 Dryer Won't Heat – What Part Fixes This Problem?
Need the replacement part? Search your model number at for guaranteed fit and fast free shipping.
Understanding the Problem
If your LG DLGX5 dryer tumbles but does not produce heat, the problem is commonly caused by one or more failed heating components or an electrical supply issue. Electric dryers require both heating element and correct incoming voltage; gas dryers rely on properly functioning gas valves and igniters. This guide focuses on the common causes for an electric LG DLGX5 series dryer not producing heat and the steps to identify the failed part. Typical failed parts include the thermal fuse (safety fuse), the heating element assembly, thermostats (cycling or high-limit), and sometimes wiring/connections or the dryer’s control/relay. Before replacing parts, always verify the root cause with a multimeter and visual inspection — replacing parts without testing can lead to unnecessary expense and downtime.
Common Symptoms
Dryer drum spins and control panel functions, but no heat or very weak heat; long drying times; dryer trips breaker; intermittent heating.
Common Causes
- Blown thermal (safety) fuse
- Open/failed heating element
- Faulty thermostat(s) or high-limit thermostat
- Burned wiring or bad terminal block / incoming voltage problem
- Defective control board or relay (less common)
Popular Parts That Fix This Problem
These are the most common replacement parts that fix this problem. When you're ready to order, click below to find the right part at ProsourceParts.com — just search by your appliance model number for a guaranteed fit.

Helpful Repair Tip
Start by checking for 240V at the dryer’s terminal block (for electric models) and test the thermal fuse for continuity with a multimeter — a blown thermal fuse is a common, quick-to-check cause of no heat.
Frequently Asked Questions
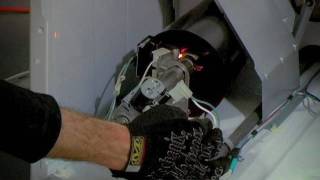
How do I test the heating element and thermal fuse?
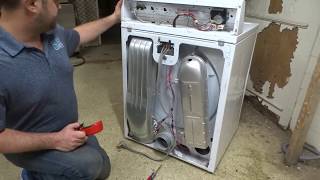
Unplug the dryer. Remove the back panel (or access panel per manual) to reach the heating assembly and thermal fuse. For the thermal fuse: remove the wires and test across the fuse with a multimeter set to continuity or ohms — a good fuse shows continuity (close to 0 Ω); a blown fuse shows open (OL). For the heating element: disconnect power and test element terminals for continuity; a working element normally shows low resistance (a few ohms). Also visually inspect the element for breaks or burn spots. If the element is open or the thermal fuse is blown, replace the failed part. Always confirm incoming voltage (240V) at the terminal block if the element and fuses test good.
Can I safely replace these parts myself or should I call a technician?
If you are comfortable with electrical safety and basic appliance disassembly, you can replace user-serviceable parts like the thermal fuse, heating element, or thermostats yourself. Always unplug the dryer (and shut off gas for gas models) before starting. Use a multimeter to verify the failed component before ordering parts. Call a qualified technician if you’re not comfortable working with high-voltage components, if the dryer has burned wiring, or if testing points to a control board issue.
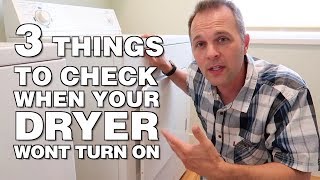
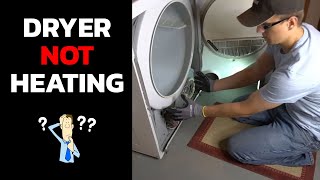
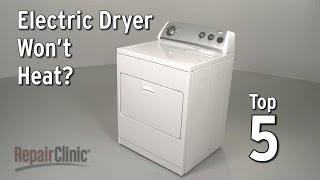
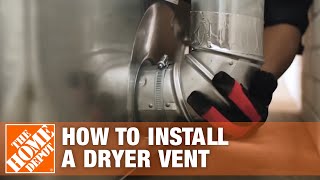
Related How-To Videos

Real DIY Repair Stories
Be the first to share your repair story!
Share Your Repair Story
Your experience helps other homeowners fix their appliances. Tell us how it went!
Can't Fix It Yourself? Find a Local Technician
It's perfectly okay to call a professional. Some repairs require specialized tools, deep teardowns, or dealing with complex systems that are better left to the pros.

Find the Right Part for Your Appliance
Don't guess — search your exact appliance model number at ProsourceParts.com to find the correct OEM compatible replacement part. They offer fast free shipping, guaranteed fit, and thousands of parts in stock.
Your Free Parts Videos
Whether your dishwasher won't drain, your dryer stopped heating, or your fridge isn't cold, we've created simple repair guides for the most common appliance problems homeowners face. Each guide explains what's going wrong, the most likely causes, and which replacement parts fix the issue. When you're ready to order, we link directly to ProsourceParts.com where you can search by model number and get the right part shipped fast.