
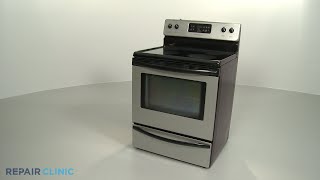
GE FGEW2765PWC Electric Range — Common Problems and What Parts Fix Them
Need the replacement part? Search your model number at for guaranteed fit and fast free shipping.
Understanding the Problem
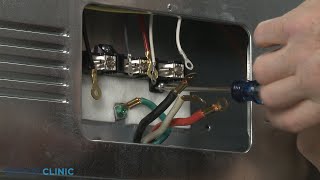
This guide covers the most common problems owners see on the GE FGEW2765PWC electric range: oven not heating (or heating unevenly), surface burners not working, elements not glowing, control/display errors, and door/self-clean issues. Below are prioritized diagnostic steps and practical repair instructions for each symptom. 1) Oven (bake/broil) not heating or heating unevenly a. Check power: Confirm 240V supply to the range. With the range plugged in and turned on, use a voltmeter at the terminal block — you should read ~240V across the two hot legs. If one leg is missing, check the house breaker and terminal connections. b. Inspect bake & broil elements: Remove the oven racks and visually inspect both elements for breaks, blistering, or areas that don’t glow when in use. With power OFF and the element disconnected, test continuity with a multimeter — a good element typically measures a few ohms to a few dozen ohms (manufacturer specs vary). If open (OL) or burnt, replace the element. c. Test the oven temperature sensor (thermistor): With the oven OFF, disconnect the sensor and measure resistance at room temperature — typical GE oven sensors read about 1,060–1,100 ohms at 75°F (25°C). Large deviations or open circuit indicate replacement. d. Check the control board/relay: If elements and sensor check good but oven won’t heat, the electronic control board or internal relay may be failing. Look for burn marks, swollen capacitors, or failed relays. Swap or test relays if possible; otherwise replace the control board. e. Verify wiring and connectors: Inspect wiring harnesses for burns, frays, or loose connectors between control board, elements, and sensor. 2) Surface burners or cooktop elements not working a. For coil/radiant elements: Inspect the visible element for damage. Test the element for continuity. If the element is okay, test the infinite switch (control switch) behind the knob for continuity across its terminals while rotating the knob. b. For ceramic/glass cooktops (if applicable): Cracks in the glass, damaged terminal block, or failed surface element can cause non-heating. Replace the broken glass or the radiant element as required. c. Check the terminal block and wiring: Loose or burnt terminal block connections can cause intermittent or complete failure of burners. 3) Display/control not responding or giving error codes a. Hard reset: Unplug the range or flip the breakers off for 60 seconds, then restore power — this can clear some control board lockups. b. Error codes: Note any F— or E— codes shown on the display. Consult the GE service sheet for code definitions (usually mounted behind the control panel). Replace the corresponding sensor or control if diagnostics confirm failure. c. Touchpad/keypad failure: If indicators light but buttons don’t respond, test the keypad ribbon and replace the user interface/control board if necessary. 4) Door or self-clean issues a. Door latch/lock: If the oven won’t start self-clean or the door won’t lock/unlock, check the door latch assembly and the lock motor/actuator. Test continuity on door lock switches and power to actuator during self-clean cycle. b. Hinges: Broken or sagging hinges cause closing issues — replace hinges and adjust alignment. 5) Practical replacement steps (example: replacing bake element) a. Unplug the range or switch off both breakers for the range at the panel. b. Open the oven and remove racks. Remove the screws securing the bake element at the rear of the oven and gently pull the element forward to expose the wire terminals. c. Disconnect the element wires (note orientation or take a photo). Remove the element and install the new one by reconnecting wires and fastening screws. d. Restore power and test by running the bake function for a few minutes. Safety note: Always disconnect power at the breaker panel before opening or servicing the range. Use a proper multimeter and follow electrical safety practices. If you’re not comfortable working with 240V circuits, hire a qualified appliance technician.
Common Symptoms
Oven won’t heat or heats unevenly, bake or broil element not glowing, surface burners don’t get hot, display/control unresponsive or showing error codes, door won’t latch for self-clean.
Common Causes
- Failed bake or broil heating element
- Faulty oven temperature sensor or thermistor
- Bad electronic control board or relay
- Defective infinite switch or surface element
- Loose/burnt wiring or failed terminal block
Popular Parts That Fix This Problem
These are the most common replacement parts that fix this problem. When you're ready to order, click below to find the right part at ProsourceParts.com — just search by your appliance model number for a guaranteed fit.

Helpful Repair Tip
To confirm a faulty bake element quickly: with power OFF, disconnect the element and check for continuity. If it reads open (OL) or shows drastically higher resistance than expected, replace the element. Also visually test by running broil for a short time — a working broil element should glow quickly.
Frequently Asked Questions
How do I know whether the oven issue is the element or the control board?
Start by visually inspecting the element and testing it for continuity with a multimeter (power OFF). If the element is open or visibly damaged, replace it. If the element and oven sensor both test good, but the element never receives power when the oven calls for heat, the control board or internal relay is likely at fault. Check wiring continuity from the board to the element and look for burned components on the board before replacing it.
Is it safe to replace heating elements myself and how much does it usually cost?
Yes, replacing bake or broil elements is a common DIY repair and is relatively straightforward: cut power, remove a few screws, swap the element and reconnect wires. Parts usually cost $20–$80 for elements; control boards or sensors can be $50–$300 depending on the part. If the repair involves mains wiring or you’re unsure interpreting electrical tests, hire a licensed technician.
Related How-To Videos
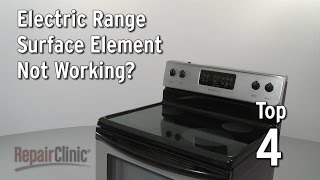
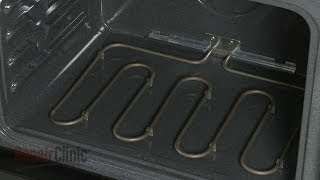
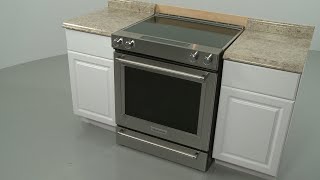
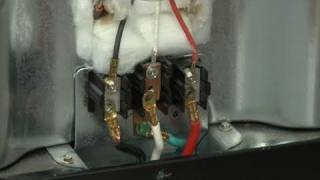

Real DIY Repair Stories
Be the first to share your repair story!
Share Your Repair Story
Your experience helps other homeowners fix their appliances. Tell us how it went!
Can't Fix It Yourself? Find a Local Technician
It's perfectly okay to call a professional. Some repairs require specialized tools, deep teardowns, or dealing with complex systems that are better left to the pros.

Find the Right Part for Your Appliance
Don't guess — search your exact appliance model number at ProsourceParts.com to find the correct OEM compatible replacement part. They offer fast free shipping, guaranteed fit, and thousands of parts in stock.
Your Free Parts Videos
Whether your dishwasher won't drain, your dryer stopped heating, or your fridge isn't cold, we've created simple repair guides for the most common appliance problems homeowners face. Each guide explains what's going wrong, the most likely causes, and which replacement parts fix the issue. When you're ready to order, we link directly to ProsourceParts.com where you can search by model number and get the right part shipped fast.