
Dryer Not Detecting Moisture — DC97-16140G Moisture Sensor Repair Guide
Need the replacement part? Search your model number at for guaranteed fit and fast free shipping.
Understanding the Problem
The DC97-16140G is an OEM moisture sensor assembly used on many Samsung clothes dryers. If the sensor fails, the dryer may not detect dampness correctly and can either run far too long, stop too soon, or leave clothes damp even after a completed cycle. Moisture sensors are small metal bars (often two) mounted in the lint trap area; they measure conductivity between wet fabric and ground to determine dryness. A faulty sensor can be caused by corrosion, contamination (fabric softener residue), broken wiring, or an internal sensor failure. Before replacement, it's important to clean and test the sensor and the wiring harness because many ‘not drying’ complaints are due to build-up or a loose connector rather than a bad part. Replacing the DC97-16140G sensor typically fixes issues where the dryer won’t move from sensing mode to end-of-cycle properly.
Common Symptoms
Dryer runs excessively long or stops too early; clothes remain damp despite a complete cycle; cycles end immediately; erratic or inconsistent dryness levels.
Common Causes
- Corrosion or residue on the sensor bars (fabric softener or lint)
- Damaged or loose wiring/connectors between sensor and control board
- Internal failure of the moisture sensor assembly
Popular Parts That Fix This Problem
These are the most common replacement parts that fix this problem. When you're ready to order, click below to find the right part at ProsourceParts.com — just search by your appliance model number for a guaranteed fit.

Helpful Repair Tip
First clean the metal sensor bars with fine sandpaper or rubbing alcohol and test with a multimeter while running a damp cloth across them. If cleaning changes behavior but the problem returns, replace the DC97-16140G.
Frequently Asked Questions
How do I test the DC97-16140G moisture sensor?
Unplug the dryer, access the sensor bars (usually behind the lint trap housing), visually inspect and clean them. With a multimeter set to continuity or resistance, have someone run a cycle while you carefully touch the damp cloth to the bars; you should see a change in resistance or continuity when moisture is present. Also check for continuity through the harness to the control board. If there’s no change or open circuits, the sensor or wiring is likely bad.
Can cleaning the sensor fix the problem, or do I always need to replace it?
Cleaning often fixes moisture-sensing issues caused by residue or corrosion. Use isopropyl alcohol and a soft cloth or very fine sandpaper to remove deposits from the metal bars, then retest. Replace the sensor (DC97-16140G) only if cleaning and verifying wiring/connectors do not restore proper sensing behavior.
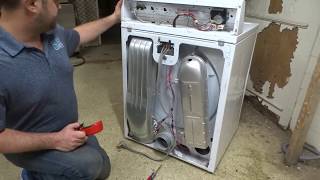
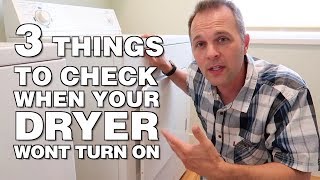
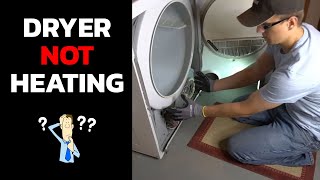
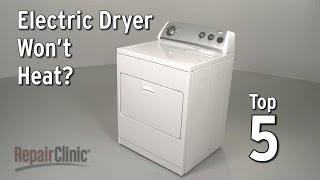
Related How-To Videos

Real DIY Repair Stories
Be the first to share your repair story!
Share Your Repair Story
Your experience helps other homeowners fix their appliances. Tell us how it went!
Can't Fix It Yourself? Find a Local Technician
It's perfectly okay to call a professional. Some repairs require specialized tools, deep teardowns, or dealing with complex systems that are better left to the pros.

Find the Right Part for Your Appliance
Don't guess — search your exact appliance model number at ProsourceParts.com to find the correct OEM compatible replacement part. They offer fast free shipping, guaranteed fit, and thousands of parts in stock.
Your Free Parts Videos
Whether your dishwasher won't drain, your dryer stopped heating, or your fridge isn't cold, we've created simple repair guides for the most common appliance problems homeowners face. Each guide explains what's going wrong, the most likely causes, and which replacement parts fix the issue. When you're ready to order, we link directly to ProsourceParts.com where you can search by model number and get the right part shipped fast.